
Barcode Scanning and Label Printing
Albert allows you to use a Barcode Scanner to quickly and easily access Inventory items and update the Inventory.
Note: Barcode scanners do not need to be configured to work with Albert.
Label Printing
Labels for Lots in the Inventory can be downloaded and printed from Albert. To download a label for a Lot in the Inventory, navigate to the Inventory module and search for your desired Inventory item. (For more information on searching the Inventory, click here.)
Click on the desired Inventory item to open it. Under the Lots header, navigate to the Lot you'd like to print a label for, click on the three dots, and select Download Label.
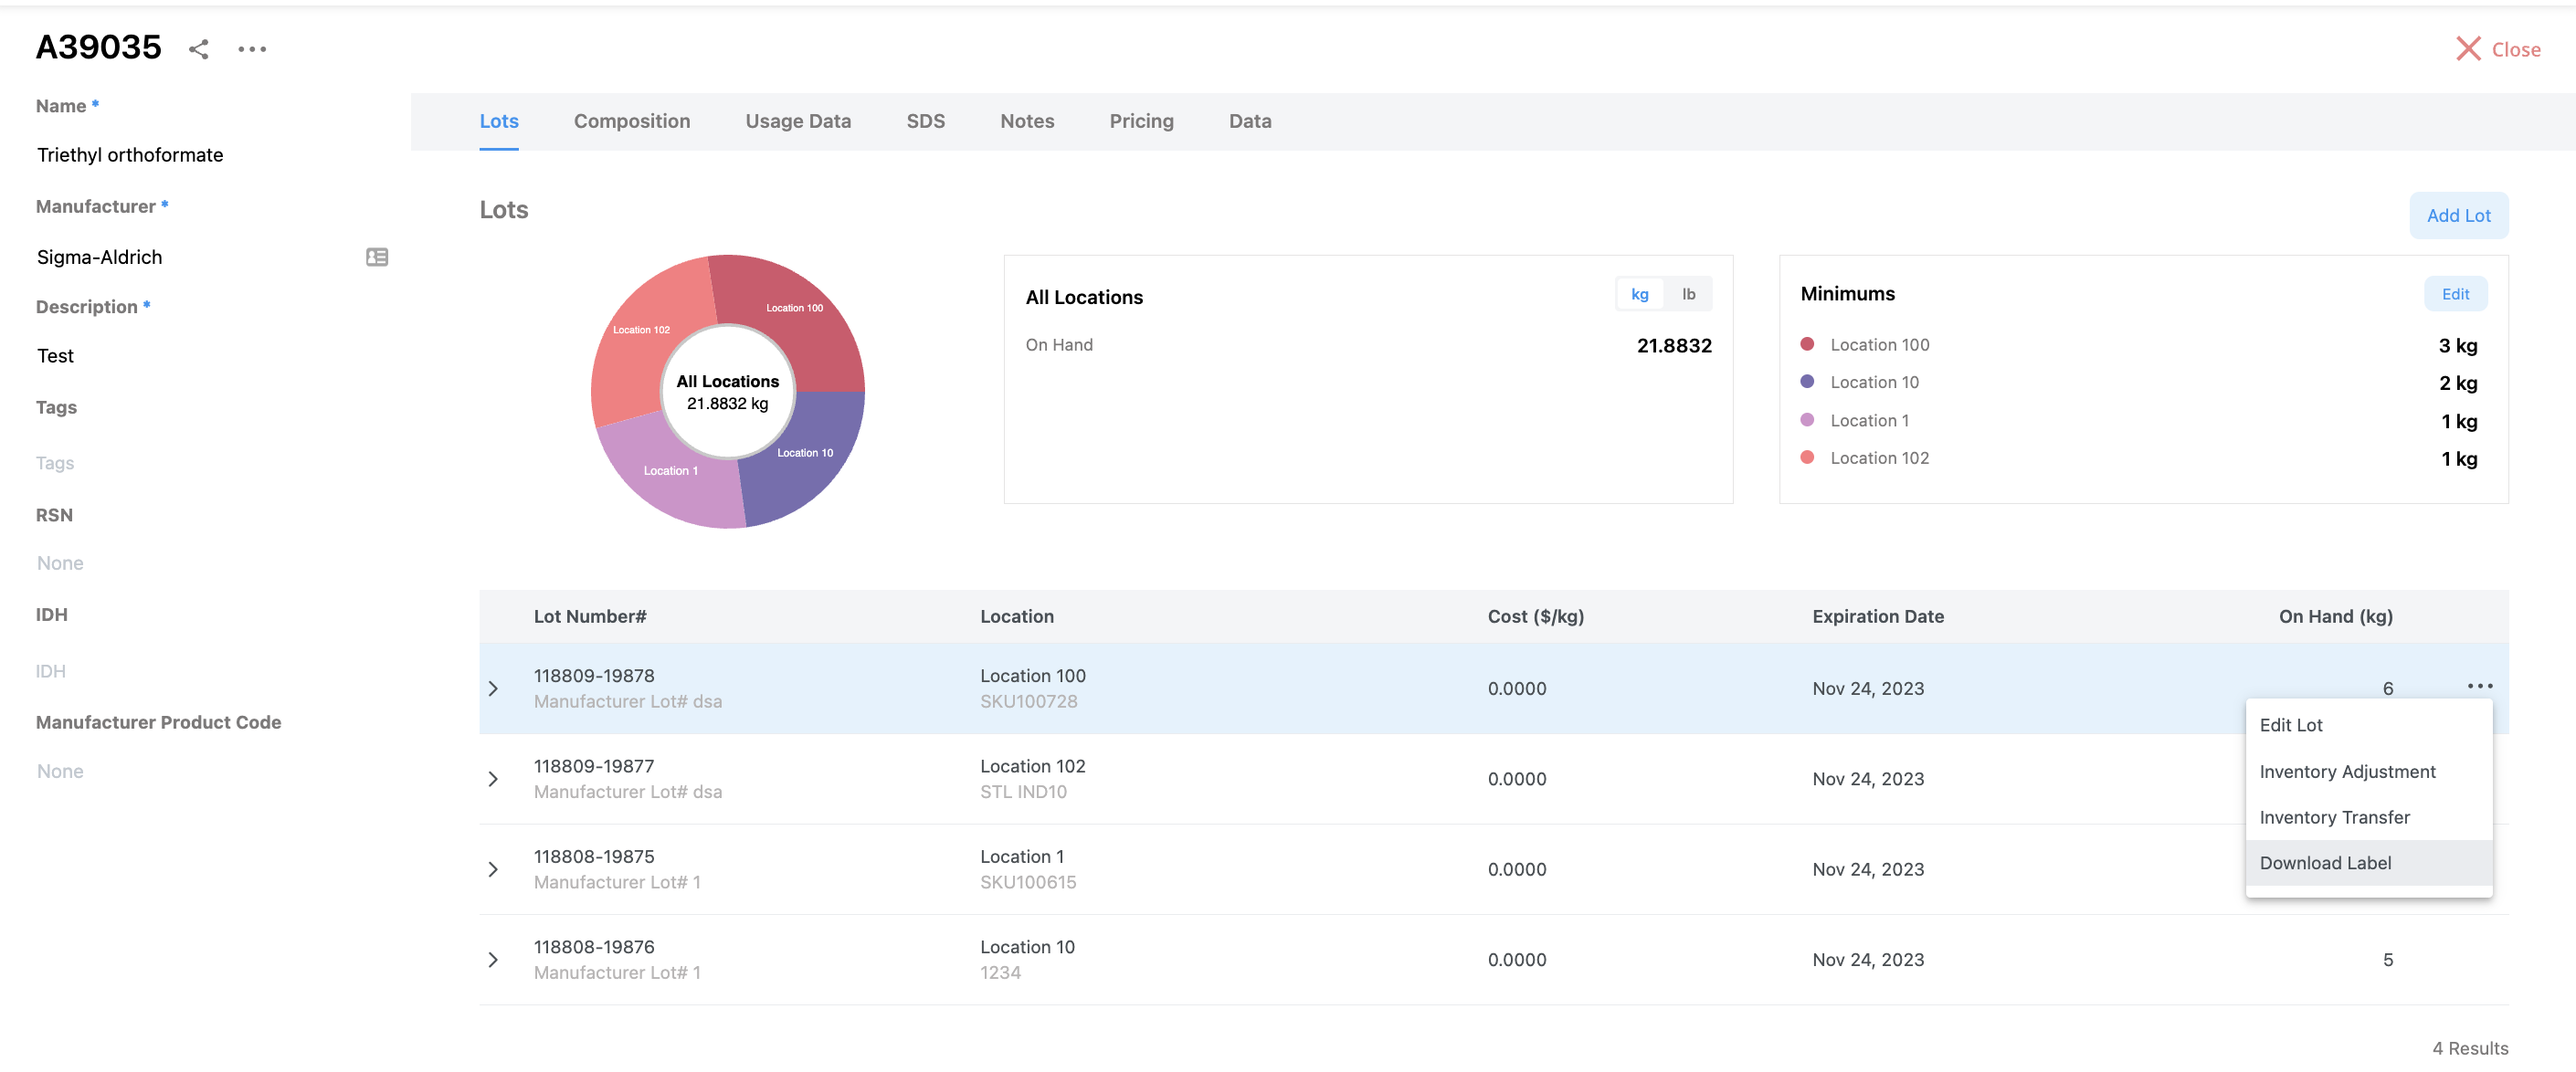
The label will download as a PDF and can be printed from there.
Default Label Size
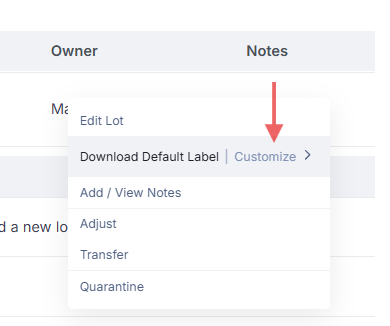
Each user can set a default label size at the for all labels. This allows for you to print off the size that you want when creating a new label for inventory or a task. To set a default label at the user label, click on the down arrow to the right of the Download Default Label.
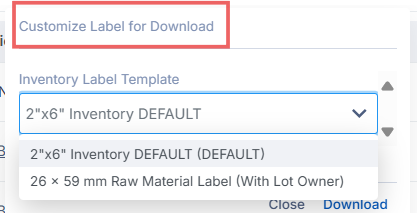
From there, you can select the default label size for inventory for your own use. Once a new default is set, please remember to select Set as Default to save this for future use! All labels moving forward will be automatically downloaded in this template unless otherwise specified.
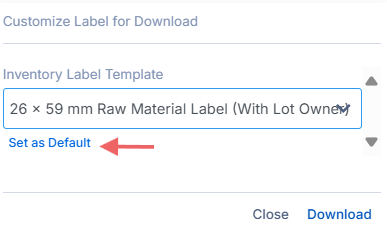
Note: Raw Material, Formula, and Property Task labels have different default options, so remember to set your selected default for all.
Barcode Scanning
Barcode Generation Logic for Labels
Albert's barcode generation logic only displays information if necessary to keep the barcode as small as possible.
The logic list information on the barcode based on the criteria below:
Task ID
All labels should include a task ID
Inventory / Lot ID
Will only include IF there are multiple inventory items
If there is an inventory with no lot, will put the inventory ID on the barcode
If there is an inventory AND lot, will only put the lot on the barcode (lot is unique and always associated to an inventory item, so both IDs are not required)
Block ID
Will only include IF there are multiple blocks
Intervals
Will only include if there are intervals
Some considerations:
Inventory IDs can start with a "B" which makes it look similar to a Block ID
Inventory IDs can have a "-"
When you have inventory number like “B12345”, you need to at “INV” at the start for the API call for it to call correctly -> “INVB12345”. However, with Lot ids “ LB12345” you need to add a “LOT” but remove the “L” -> “LOTB12345” instead of “LOTLB12345” for it to work.
Scanning an Inventory Item Label
Open Albert in your browser and turn on the scanner (verify it is connected to the computer via Bluetooth or USB cable) or open your Albert mobile application.
Physically select the inventory item you are interested in and identify the barcode location.
If using the Albert mobile app, tap Barcode on the bottom of your screen. The camera application on your mobile device will start.
Point your device's camera at the barcode
Once scanned, the Lot's details page will open up, where you can perform actions such as inventory transfer or adjustment.
Scanning a Task Label
Open Albert in your browser and turn on the scanner (verify it is connected to the computer via Bluetooth or USB cable) or open your Albert mobile application.
Physically select the Task label you are interested in and identify the barcode location.
If using the Albert mobile app, tap Barcode on the bottom of your screen. The camera application on your mobile device will start.
Point your device's camera at the barcode.
Once scanned, you will be brought directly to the batch or property task, where you can claim the task or view details, such as notes and Parameter Groups. You can also view the data for Property Tasks.